
ACL Reconstruction Rehab: Criterion Based 9–12 Month Clinician Roadmap

Follow a criterion-driven, phase-based rehab program rather than a calendar-only plan. Your first priorities are regaining full knee extension, waking up your quadriceps so you can perform a straight leg raise without a lag, controlling swelling, and walking with a normal gait. Most people reach sport-ready function between 9 and 12 months once they meet objective strength and movement benchmarks, though your own timeline depends on how your body responds at each stage.
TL;DR:
Progression through ACL rehab depends on achieving specific milestones like full knee extension, quadriceps control, and strength symmetry, not just passing weeks.
Early exercises focus on gentle range of motion, quadriceps activation, and controlling swelling, with more advanced strength and sport-specific drills introduced gradually.
Objective tests such as hop tests, limb symmetry index, and movement quality assessments guide safe progression, especially before returning to running or sport.
Adjunct therapies like NMES, BFR training, and manual therapy support muscle recovery and mobility but do not replace consistent, criterion-based exercise.
Delaying return to sport until objective benchmarks are met significantly reduces reinjury risk, emphasizing patience over timetable-driven progression.
Table of Contents
How Rehab Unfolds From Surgery to Return to Sport
Recovery after ACL reconstruction moves through distinct phases, each with its own job to do. Trying to rush ahead of your tissue’s readiness, rather than your calendar, is where most setbacks happen. A criterion-based approach means you advance because you hit specific targets, not because a certain number of weeks passed.

In the first one to two weeks after surgery, the goal is protecting the graft while calming inflammation and restoring basic joint motion. You will likely bear weight as tolerated with crutches, wear a brace locked in extension for walking, and start gentle range-of-motion work almost immediately. Full knee extension matters more in this window than how far you can bend the knee, since a stiff, flexed knee early on tends to cause long-term problems that are harder to fix later than a slow gain in flexion.
Weeks two through six shift toward reducing swelling further, weaning off the brace and crutches as strength allows, and rebuilding quadriceps control. This is when closed kinetic chain work, exercises where your foot stays planted, such as mini squats and step-ups, becomes the backbone of your program. Many protocols introduce light stationary cycling once you have enough flexion, often somewhere around the four to six week mark, though the exact timing depends on your surgeon’s graft-specific guidance.
From roughly six to twelve weeks, strength training becomes more targeted. You will likely add balance and proprioception drills, progress your closed chain loading, and, depending on your clinic’s protocol, begin restricted-range open kinetic chain knee extensions. Walking should look essentially normal by this point, and any residual limp is worth flagging to your physical therapist rather than working around.
The three to six month window is where general strengthening turns into sport-specific preparation. Running usually begins here, but only once you walk without a limp, tolerate single-leg loading, and show reasonable quadriceps symmetry. Plyometrics, jumping and landing drills, generally start after running is well tolerated and typically require passing preliminary strength checks first.
Beyond six months, the focus narrows to power, agility, and the specific demands of your sport. Cutting, pivoting, and deceleration drills get layered in gradually, always tied to how your knee is performing under load rather than simply how many months have passed. The Aspetar clinical practice guideline reinforces that exercise itself, done consistently and progressed appropriately, remains the primary driver of outcomes throughout every one of these stages.
A rough map of phases looks like this:
Weeks 0 to 2: protect the graft, control swelling, restore full extension, and start gentle quad activation.
Weeks 2 to 6: wean off brace and crutches, build closed chain strength, and normalize walking.
Weeks 6 to 12: progress strength training, add balance work, and introduce restricted-range open chain exercises.
Months 3 to 6: begin running progression and early plyometrics once criteria are met.
Months 6 to 12: add cutting, pivoting, and sport-specific drills, working toward criterion-based clearance.
Your surgeon’s graft choice, whether hamstring, patellar tendon, or another option, can shift some of these timelines slightly, so treat these ranges as a framework rather than a fixed schedule.
Exercises That Rebuild Strength and Control Through Each Phase
The exercises you do matter less than the order and criteria behind them. A good program moves methodically from mobility to activation to strength to power, and skipping steps tends to backfire.
In the earliest days after surgery, your work centers on waking up the muscles around your knee and getting your joint moving again. Heel slides help restore flexion gently. Quad sets, tightening your thigh muscle while your leg is straight, and straight leg raises (SLRs) train your quadriceps to fire without your knee buckling into flexion. If your quadriceps activation lags, meaning you cannot fully control your leg during an SLR, neuromuscular electrical stimulation (NMES) is often added. The Aspetar guideline specifically recommends NMES in this very early phase to counter the muscle disuse that follows surgery, layering electrical stimulation on top of your voluntary effort rather than replacing it.

Once you have basic control, closed kinetic chain (CKC) exercises take over as your main strength tool. These are movements where your foot stays in contact with the ground, like mini squats, leg press within a safe range, and step-ups, and they load the knee in a way that is generally considered gentler on a healing graft than open chain work. Most protocols keep you almost entirely in CKC exercises for the first several weeks.
Open kinetic chain (OKC) knee extensions, where your foot moves freely and your lower leg swings against resistance, come back into the picture later and in a restricted way. Current guidance from clinical rehab protocols supports starting OKC extensions in limited ranges, often 90 to 45 degrees or 90 to 30 degrees, rather than through the full arc of motion. This range restriction reduces stress on the graft during a period when it is still maturing, while still letting you build quadriceps strength that CKC work alone may not fully address.
A practical progression through the middle and later phases looks like this:
Restore full range of motion with heel slides, prone hangs, and gentle overpressure stretching until your extension matches your uninjured side.
Rebuild basic strength with quad sets, SLRs, and closed chain movements like mini squats and step-ups, adding NMES if activation is weak.
Add restricted-range OKC extensions once your surgeon and therapist clear you, typically starting around the four to six week point.
Layer in single-leg balance and proprioception work, such as single-leg stance on stable then unstable surfaces, to rebuild the joint position sense surgery disrupts.
Progress to dynamic strength and control drills, including lateral step-overs, controlled lunges, and light hopping in place, before introducing running.
Begin a walk-to-run progression once you can bear full weight without pain, show a normal gait pattern, and have adequate single-leg strength.
Add sport-specific and multidirectional drills only after passing objective strength and hop testing, moving from straight-line running to cutting and pivoting.
Blood flow restriction (BFR) training deserves a mention here too. When heavy loading is not yet appropriate for your graft or is simply too painful, BFR uses a cuff to partially restrict blood flow during lower-load exercise, allowing you to build strength gains that would normally require much heavier weights. The Aspetar guideline supports BFR as an adjunct specifically for situations where standard heavy loading is not tolerated, though it should be used with attention to contraindications and under professional guidance.
Pro Tip: Film your single-leg squat or step-down from the front on your phone. Watching for your knee caving inward, a pattern called dynamic valgus, gives you and your therapist a simple way to track control as you progress.
Balance and proprioception work is often underestimated compared with strength training, yet it directly supports the confidence you need for cutting and pivoting later. Simple drills like single-leg stance with eyes closed or standing on a pillow build the joint awareness that surgery temporarily disrupts, and they pair naturally with the strength work happening in the same phase.

Milestones That Tell You It’s Safe to Progress
Advancing through ACL rehab should depend on what your knee can do, not on the date on your surgery calendar. Clinicians rely on a set of objective checkpoints to decide when you are ready for more demanding work.
Range of motion is the first gate. Full knee extension, meaning your knee straightens to 0 degrees, matching your uninjured leg, is considered essential before you progress to heavier loading. Flexion targets build progressively, with most protocols expecting near-full bending by the time you are several weeks out. Alongside motion, common advancement criteria include minimal joint effusion (swelling) and a normal gait pattern without a limp.
Quadriceps control is checked directly through the straight leg raise. If you cannot lift your straightened leg without your knee dropping into flexion first, known as an extensor lag, you are not yet ready for more aggressive strengthening. This single test tells a therapist a great deal about how well your quadriceps has recovered from the surgical disruption.
As you move into mid and late-stage rehab, strength symmetry between legs becomes the dominant metric. Therapists express this as a limb symmetry index (LSI), comparing your surgical leg’s strength or performance to your uninjured leg’s. Isokinetic testing, which measures muscle strength through a controlled range of motion on specialized equipment, is often checked at intervals such as three, six, and nine months to track how the strength gap is closing.
Functional hop testing rounds out the picture once you are further along:
Single hop for distance: how far you hop on one leg, compared side to side.
Triple hop for distance: three consecutive hops, testing power and control together.
Crossover hop: hopping diagonally across a line, testing rotational stability.
Y-balance test: reaching in multiple directions on one leg to assess dynamic balance.
Landing Error Scoring System (LESS): a scored assessment of jump-landing mechanics, looking for risky movement patterns.
Beyond the physical numbers, psychological readiness has become a recognized part of the clearance picture. Tools such as the ACL Return to Sport after Injury (ACL-RSI) scale measure confidence and fear of reinjury, and review literature points to a real shift toward multidisciplinary, criterion-based decisions that weigh psychological factors alongside strength and hop symmetry rather than treating return to sport as a purely physical question.
What Early Adjuncts Like NMES, BFR, and Cryotherapy Actually Do
Modalities support your rehab, they do not replace it. Exercise remains the primary driver of your recovery, and the tools below exist to help you tolerate and benefit from that exercise sooner.
Neuromuscular electrical stimulation, or NMES, delivers a mild electrical current to contract your quadriceps involuntarily, which helps counteract the muscle inhibition that follows knee surgery. Trial data reviewed in the literature shows that early NMES groups achieved higher quadriceps strength at early time points compared with exercise-only groups, making it a useful bridge when voluntary activation is weak. Blood flow restriction training, discussed in the exercise section above, offers a similar kind of bridge, letting you build strength using lighter loads when your graft or pain levels do not yet tolerate heavy resistance.
Cryotherapy, simple ice application, along with elevation and compression, remains a mainstay for controlling swelling in the first days and weeks. Manual therapy also plays a role: gentle mobilization of the patella (kneecap) and surrounding scar tissue can help prevent the stiffness that sometimes develops around a healing incision, and it pairs naturally with the mobility work covered in earlier phases.
One statistic worth remembering: the Aspetar guideline identifies exercise as the mainstay of ACL rehabilitation, with NMES recommended in the very early phase specifically to reduce the muscle atrophy that follows disuse after surgery.
A short list of how these adjuncts fit together:
NMES supports quadriceps activation when voluntary control is weak, particularly in the first few weeks.
BFR training allows strength gains at lower loads when heavy resistance is not yet appropriate.
Cryotherapy and elevation manage swelling and discomfort, especially in the early post-op period.
Manual therapy addresses patellar and scar tissue mobility that can otherwise limit motion gains.
None of these tools substitute for progressive loading and consistent exercise. They exist to help you get to the point where you can do that exercise with less pain and better muscle recruitment.
Getting Back to Running and Sport Without Rushing It
Reintroducing running and sport is where impatience causes the most harm, and where objective criteria matter most. A staged approach protects the graft while still moving you forward at a reasonable pace.
Before you run at all, you should walk with a completely normal, pain-free gait and tolerate single-leg loading without compensating. Most programs then move through a walk-to-jog progression on a flat, predictable surface before adding distance or speed.
The timing of this progression carries real stakes. Consensus and review literature associates each additional month of delay before returning to pivoting sports, up to nine months post-surgery, with a meaningful reduction in reinjury risk, with some analyses citing reductions as high as 51% per month delayed within that window. In practical terms, the athlete who waits for their body to actually meet strength and control benchmarks, rather than racing back at six months because that is what a teammate did, meaningfully lowers their odds of a second injury.
A reasonable sequence for returning to running and sport:
Confirm pain-free, symmetrical walking before attempting any jogging.
Start with short, slow jogging intervals on flat ground, monitoring for swelling or pain afterward.
Build jogging duration and speed gradually over several weeks before introducing direction changes.
Pass strength and hop symmetry testing, generally in the 70 to 85% LSI range, before starting plyometrics.
Introduce controlled cutting and pivoting drills at low intensity, increasing speed and unpredictability over time.
Progress to full sport participation only after combined physical testing and a psychological readiness assessment.
That last step matters more than it might seem. The ACL-RSI scale, mentioned earlier, captures how confident and how fearful you feel about reinjury, and research on psychological factors after ACL reconstruction identifies fear of reinjury as a major barrier to return, one that many rehab teams now address directly through graded exposure exercises alongside physical progression. A useful way to frame your own return is through the staged model some rehabilitation literature describes: returning to participation, or training, comes first, then return to sport, meaning competition, and finally return to performance, meaning you are back to your pre-injury level. Treating these as three separate milestones, rather than one single “cleared” moment, keeps expectations realistic.
A Practical Checklist From Surgery Through Return to Sport
Having a simple checklist to reference at home and bring to appointments keeps your rehab focused on what actually matters at each stage.
In weeks 0 through 4, your daily priorities are straightforward: perform your prescribed range-of-motion and quad activation exercises, ice and elevate to manage swelling, wear your brace as directed, and walk as normally as your protocol allows. Red flags to report immediately include a fever, a hot or increasingly swollen knee, calf pain or swelling that could suggest a blood clot, or any sudden new instability.
Weeks 4 through 12 shift the checklist toward progressive loading and running readiness: confirm full extension has been maintained, track your flexion gains, note whether your quadriceps activation feels stronger week to week, and ask your therapist when restricted-range OKC work and stationary cycling can begin.
From months 3 through 9, your checklist becomes about testing and sport preparation: request formal strength testing or hop testing at your milestone visits, track your limb symmetry percentages over time, and confirm with your surgeon and therapist when running, plyometrics, and eventually cutting drills are appropriate for your specific graft and recovery pace.
A few signals should always prompt you to pause and check in rather than push through:
Increased swelling after activity that does not settle with rest and ice.
A new sense of instability or your knee giving way, even briefly.
Persistent extensor lag that is not improving despite consistent SLR practice.
Pain that feels sharp, worsening, or different from the expected soreness of training.
Pro Tip: Bring your hop test or strength symmetry numbers, if you have had them measured, to every milestone visit. Watching the trend over time tells your surgeon and therapist far more than a single snapshot does.
Questions worth asking at each milestone visit include what your current limb symmetry percentage is, whether your extension and flexion match your uninjured leg, and what specific criteria need to be met before you can add the next layer of loading or sport activity. For a broader template you can adapt to your own recovery, a general rehabilitation checklist offers a useful starting structure.
How We Approach ACL Rehab at CRS Wellness
Our approach to ACL reconstruction rehab is based on criterion-based thinking: advancing when readiness is demonstrated, not just based on a calendar date. Treatment combines in-person physical therapy with manual therapy techniques such as myofascial work, joint mobilization, and neuromuscular re-education, to address both strength deficits and soft tissue restrictions after surgery. Telehealth PT sessions may be offered to support home exercise programs between visits.
— CRS Wellness
Where CRS Wellness Fits Into Your Recovery Plan
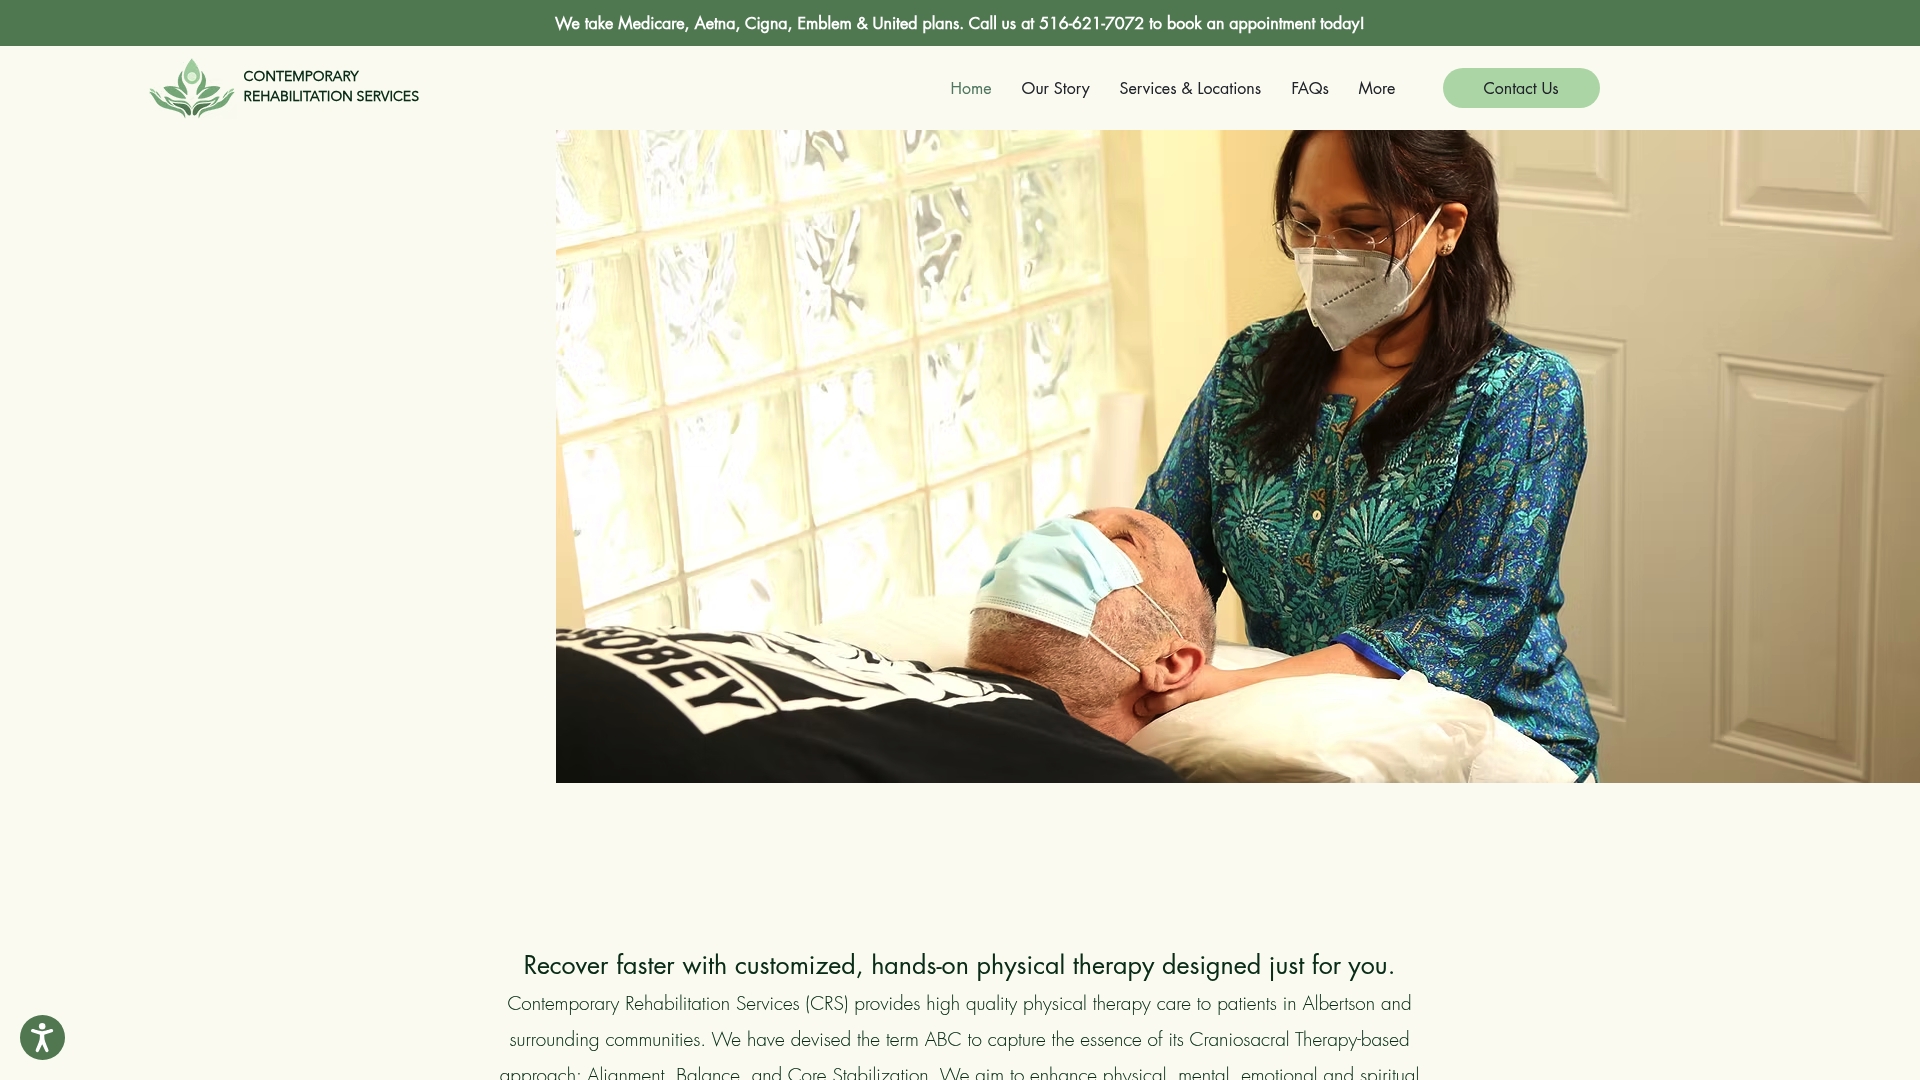
Getting through ACL reconstruction rehab well depends on consistent, well-guided sessions, not just a printed exercise sheet. CRS Wellness offers one-on-one physical therapy and telehealth PT sessions built around your specific graft, timeline, and goals, alongside manual therapy techniques like neuromuscular re-education and joint mobilization that support the phase work described in this guide.
Our services relevant to ACL recovery include:
Physical Therapy, delivered as individualized, one-on-one sessions rather than a generic protocol.
Telehealth PT Sessions, for guided home exercise support between in-person visits.
Neuromuscular Re-education, supporting the quadriceps activation work central to early rehab.
Manual Therapy techniques, including myofascial therapy and joint mobilization, to address stiffness and scar restrictions.
We accept Medicare, Aetna, Cigna, Emblem, and United Healthcare, along with direct payment options. If you are working through ACL reconstruction rehab and want a plan built around your own milestones rather than a generic timeline, you can learn more about our services or book a consultation through our main page to get started.
This article is general information, not a substitute for advice from a qualified doctor. Consult a qualified healthcare professional about your own circumstances before acting on anything here.
Sources
FAQ
How long is rehab after ACL reconstruction?
Most rehab programs run from surgery through roughly 9 to 12 months, with the pace determined by how well you meet strength and movement milestones rather than a fixed calendar. Some athletes need longer, particularly when strength symmetry or psychological readiness takes more time to develop.
How painful is ACL reconstruction surgery recovery?
Pain is typically most intense in the first few days after surgery and eases steadily over the following weeks as swelling decreases and mobility improves. Consistent use of ice, elevation, and prescribed pain management, along with early range-of-motion work, generally keeps discomfort manageable through the early phases.
Can you recover 100% from ACL surgery?
Many people return to their previous sport and activity level, but outcomes vary based on graft type, rehab adherence, and how closely objective criteria like strength symmetry and hop testing are met before returning to high-demand activity. Following a staged return-to-sport framework, moving from return to participation, to return to sport, to return to performance, gives the most realistic path toward getting back to your prior level.
What are the worst days post ACL surgery?
The first three to five days after surgery tend to be the most difficult, when swelling, stiffness, and pain peak before gradually improving with consistent icing, elevation, and gentle mobility work. Many people also notice a temporary setback in the days following a physical therapy session that pushed range of motion, which is a normal part of the early healing process rather than a sign of a problem.
Recommended
Comments