
8–12 Week Achilles Rehab Roadmap, Evidence Based and Telehealth Ready

Progressive tendon-loading exercise paired with graded weightbearing is the primary, evidence-backed approach for most Achilles tendon problems, whether you are managing tendinopathy or recovering from a rupture repair. For tendinopathy, exercise-led rehab typically settles symptoms within a couple of weeks and produces meaningful strength gains by 6 to 12 weeks. Rupture cases follow a longer arc, with a coordinated surgical or nonoperative pathway and early functional rehab guiding you toward sport over several months.
TL;DR:
Tendon-loading exercises should be performed at least two to three times weekly, with heavier, supervised protocols improving tendon stiffness by around 20%.
Progression between phases depends on pain management and functional improvement, not just time, with initial activity modification in weeks 0-2, then eccentric and resistance training from weeks 2-12.
Early weightbearing and range-of-motion exercises within the first two weeks are now standard in Achilles rupture recovery, reducing immobilization periods.
Avoid deep ankle dorsiflexion early on if you have insertional tendinopathy, especially during heel drops, and consider heel lifts to minimize compression.
Structured, progressive loading and good pain monitoring are essential for both tendinopathy and rupture recovery, with full return often taking 4 to 9 months or longer.
Table of Contents
Key Rehab Principles Backed by Research
Your Achilles tendon responds to controlled stress. That is the foundation every credible rehab plan builds on, and it is why rest alone rarely resolves tendon pain the way many people expect.
For midportion Achilles tendinopathy, tendon-loading exercise is considered first-line care, and clinical guidance points to several loading styles, each carrying benefits: isometric holds, eccentric heel drops and heavy slow resistance training. None of these methods is universally superior. What matters more is that you load the tendon consistently and manage pain intelligently rather than avoiding movement altogether.
A pain-monitoring model helps you decide how hard to push. The common rule allows discomfort up to roughly 5 out of 10 during a session, provided that pain settles by the next morning and does not creep upward week over week. This keeps you loading the tendon without derailing the healing process, and it gives you a simple daily gut check instead of guessing.
Frequency matters too. Most programs call for tendon-loading sessions at least 2 to 3 times per week, and many people notice their first real gains in strength and function by the 6 to 12 week mark rather than in the first days.
A high-loading exercise trial found that heavier loading protocols improved tendon stiffness by about 20% along with gains in cross-sectional area and strength, outperforming passive care and traditional eccentric-only training in that comparison. That is a meaningful signal that how you load the tendon can shape the tissue itself, not just how it feels day to day.
Here is what the current evidence base consistently supports:
Tendon-loading exercise, not rest, is the first-line treatment for midportion Achilles tendinopathy.
Isometric, eccentric and heavy slow resistance training each show real benefit, so the right choice often depends on your goals and tolerance.
Heavier, supervised loading can be more time-efficient and may improve adherence compared with lengthy eccentric-only routines.
Consistency (2 to 3 sessions weekly) tends to matter more than any single exercise variation.
A note on the evidence: heavy-load training improved tendon stiffness by roughly 20% compared with passive care, underscoring that structured loading changes the tendon’s mechanical properties, not just symptoms.
Phased Protocol for Achilles Tendinopathy Recovery
A phased structure keeps your rehab organized and prevents the two most common mistakes: doing too little for too long, or ramping up too fast once pain eases.
Phase 1, roughly weeks 0 to 2: Focus on settling symptoms. This means activity modification (swapping high-impact activity for low-impact alternatives), isometric holds to build early tolerance without provoking flare-ups, and education about what pain levels are acceptable. This phase is about calming things down, not building strength yet.
Phase 2, roughly weeks 2 through 6 to 12: Introduce progressive tendon loading through eccentric heel drops or heavy slow resistance training. This is where most of the tissue adaptation happens, and where strength and capacity genuinely begin to return.
Phase 3, roughly weeks 8 to 12 and beyond: Add energy-storage training such as hopping and light plyometrics, then sport-specific drills if you are returning to running or jumping activities. Maintenance loading continues indefinitely to reduce recurrence risk.
If your pain sits at the back of the heel near the bone (insertional tendinopathy) rather than in the midportion of the tendon, the approach shifts slightly. A trial comparing low- and high-tendon-compression rehabilitation found that limiting compression, through heel lifts and avoiding deep ankle dorsiflexion, produced greater improvement in pain and function scores at both 12 and 24 weeks than a high-compression approach. In practice, this means avoiding stretches or exercises that push your ankle into a deeply flexed position early on, since that position compresses the tendon against the heel bone and can slow healing rather than speed it.
Pro Tip: If heel-drop exercises spike your pain at the insertion point rather than the tendon’s midsection, try a small heel lift in your shoe and stop the movement before your ankle reaches its end range.
Progression between phases is not about the calendar alone. You move forward when pain during exercise stays within your tolerable range and function is genuinely improving, not just because two weeks have passed.
Rehab After an Achilles Tendon Rupture: Surgery or Not
A full rupture changes the calculus. Surgical repair and nonoperative management both remain reasonable options, and the choice usually depends on your activity level, age, tendon gap size and personal risk tolerance rather than a one-size-fits-all rule.
Nonoperative care avoids surgical risks like wound infection but has historically carried a higher chance of re-rupture, though modern reviews note that structured functional rehab narrows that gap considerably. Surgery reduces re-rupture risk in many series but introduces its own complications, including wound healing problems and infection. Your surgeon or physician will weigh these tradeoffs against your specific situation.
What has changed in recent years is the timing of movement after either pathway. Traditional protocols kept patients immobilized in a cast for six or more weeks before any weightbearing began. Current evidence supports a different approach:
Early functional rehabilitation, where weightbearing and range-of-motion exercises often begin within the first two weeks after repair, is now common in modern protocols rather than the exception.
Blood-flow-restriction training may be introduced in the first 12 weeks to help target plantar flexor strength when your tolerable load is still limited by healing tissue.
Boot and brace settings, including how much ankle motion is allowed and when protected weightbearing progresses to full weightbearing, are decisions your surgeon controls and should never be adjusted on your own.
A systematic review of early functional rehabilitation after Achilles rupture found that many programs initiate weightbearing and controlled motion within the first two weeks, though exact definitions and timelines vary study to study, so your surgeon’s specific instructions should always take priority over a generic timeline.
Roughly 2 weeks is when many modern rupture protocols begin weightbearing and range-of-motion work, a shift from older approaches that kept patients immobilized for six weeks or longer.
Coordination is the theme running through rupture rehab. Your physical therapist should confirm brace settings, allowed ankle motion and return-to-activity clearance with your surgeon at every phase transition, never assuming a generic timeline applies to your case.

Exercises for Every Rehab Phase: From Isometrics to Plyometrics
Specific exercises matter, and the sequence you use them in matters just as much.
Isometric holds are your starting point in early rehab. Hold a calf raise position (heel slightly off the ground) for 30 to 45 seconds, repeated 4 to 5 times, once or twice daily. Isometrics build tolerance and can reduce pain acutely without the joint movement that might aggravate an irritated tendon.
Eccentric heel drops, often called the Alfredson protocol, involve rising onto both feet then slowly lowering on the affected leg alone, typically for 3 sets of 15 repetitions, twice daily, over several weeks. This method has decades of use for midportion tendinopathy.
Heavy slow resistance (HSR) training is an alternative that uses a weighted calf raise machine or resistance through a slower tempo, usually 3 to 4 sets of 6 to 15 repetitions performed 2 to 3 times weekly. Some people prefer HSR because it requires fewer weekly sessions than the twice-daily Alfredson approach, which can improve adherence.
Plyometrics, such as light hopping or bounding, come later in Phase 3, once you tolerate heavier loading without a pain flare, and they prepare the tendon for the energy-storage demands of running and jumping.
Choosing between eccentric drops and HSR often comes down to your schedule and preference rather than one being definitively better. The high-loading trial found heavier, less frequent sessions produced comparable or better gains in stiffness and strength than the traditional eccentric routine, while being less time-consuming overall.
Progression follows the same pain-monitoring rule throughout: increase load, tempo or repetitions only when your current level feels manageable and next-day soreness is settling rather than building.
Pro Tip: Avoid pushing your ankle into a deep stretch or hyper-dorsiflexed position during heel drops, especially with insertional tendinopathy or after a repair. Stop the movement at a comfortable range rather than chasing a bigger stretch.

Tracking Progress and Knowing When Something Is Wrong
Progress in Achilles rehab is not always linear, so having clear markers helps you avoid both overcaution and reckless progression.
The pain-monitoring model remains your daily guide: pain up to about 5 out of 10 during exercise is generally acceptable if it resolves by the next morning and is not trending worse week over week. If pain exceeds that threshold or lingers, scale back the load rather than pushing through.
Beyond pain, a few objective checkpoints tell you whether you are ready to progress:
Single-leg heel-rise test: compare repetitions and height on the injured side against the uninjured side to gauge strength symmetry.
Hop testing: distance and landing control on the affected leg versus the healthy leg, used later in rehab before higher-impact return.
Load tolerance: the ability to walk, then jog, then sprint or jump without a delayed pain flare the following day.
Watch for red flags that require prompt medical evaluation rather than home management. According to MedlinePlus guidance on Achilles rupture aftercare, you should seek immediate attention for worsening swelling, a change in skin color, fever, or signs that could suggest a blood clot, along with any sudden inability to push off or stand on your toes, which can indicate a new or worsening tear.
Realistic timelines help set expectations. Major strength and function gains for tendinopathy often show up by 6 to 12 weeks. Full return to high-impact sport after either tendinopathy or rupture recovery commonly takes 4 to 9 months or longer, depending on the severity of the injury and your starting point.
Adjunct Therapies: What Helps and What to Skip
Loading exercise remains the backbone of Achilles rehab, but a few adjuncts have earned a place in the supporting cast.
Heel lifts and compression-limiting strategies are worth trialing for insertional tendinopathy before assuming an exercise program has failed. Small changes in footwear or a temporary heel lift often ease symptom provocation meaningfully.
Extracorporeal shockwave therapy (ESWT) has evidence supporting its use as an option when exercise alone has not produced enough improvement, though it works best alongside continued loading rather than in place of it.
Corticosteroid injections can offer short-term pain relief but carry risk of worse long-term tendon outcomes, so most guideline-leaning advice favors caution and reserving injections for select cases discussed directly with a physician.
Manual therapy and modalities such as joint mobilization or soft tissue work can support a rehab plan but function as adjuncts, never as a replacement for progressive loading.
Blood-flow-restriction (BFR) training shows promise in the early weeks after repair, when tissue healing limits how much load you can tolerate directly, allowing strength gains at lower joint stress.
If you are considering any adjunct, ask your clinician what specific problem it addresses and how it fits alongside your loading program rather than instead of it.
Sample Rehab Templates You Can Adapt
Every tendon injury is a little different, so treat these as starting frameworks rather than rigid prescriptions.
Weeks 0 to 2 (settle): low-impact activity, isometric holds 4 to 5 times daily, pain education, and a heel lift if insertional pain is present.
Weeks 2 to 6 (build): eccentric heel drops or heavy slow resistance 2 to 3 times weekly, gradual return to daily walking without a limp.
Weeks 6 to 12 (strengthen): progress resistance load, add single-leg strength work, begin light hopping if pain-free at lower intensities.
Weeks 12 and beyond (return): sport-specific drills, plyometric progression, and gradual reintroduction of running or cutting movements as tolerated.
For a rupture, the roadmap stretches further: protected weightbearing and early motion in the first weeks (guided closely by your surgeon), progressive loading from roughly months 2 through 4, and sport-specific reintroduction from month 4 through 6 to 9, with full high-impact clearance often taking 9 months or more depending on your case and surgical approach.
If you have diabetes, a slower healing history, or insertional pathology, extend each phase rather than compressing the timeline, and lean more heavily on the pain-monitoring model than the calendar. A broader look at staged recovery milestones is available in this step by step injury recovery guide.
Pro Tip: Write down your pain score after every session for the first month. A simple log makes it far easier to spot a genuine trend instead of reacting to one bad day.
What We See in Practice at CRS Wellness
The most common pitfall we see is overprotection: patients avoid the tendon so thoroughly that it never adapts, then jump straight into running once pain fades, skipping the strength phase entirely. The second most common mistake is the opposite, pushing into plyometrics before the tendon has built enough capacity, which often triggers a setback rather than progress. For insertional cases, ignoring compression positions during stretching is a frequent, avoidable error.
We combine telehealth and in-person sessions so you can start guided loading work right away and transition into hands-on care, including neuromuscular re-education, when a session calls for manual assessment. You can review our approach to overuse injuries in this recovery guide.
— CRS Wellness
Getting Professional Support for Your Achilles Recovery
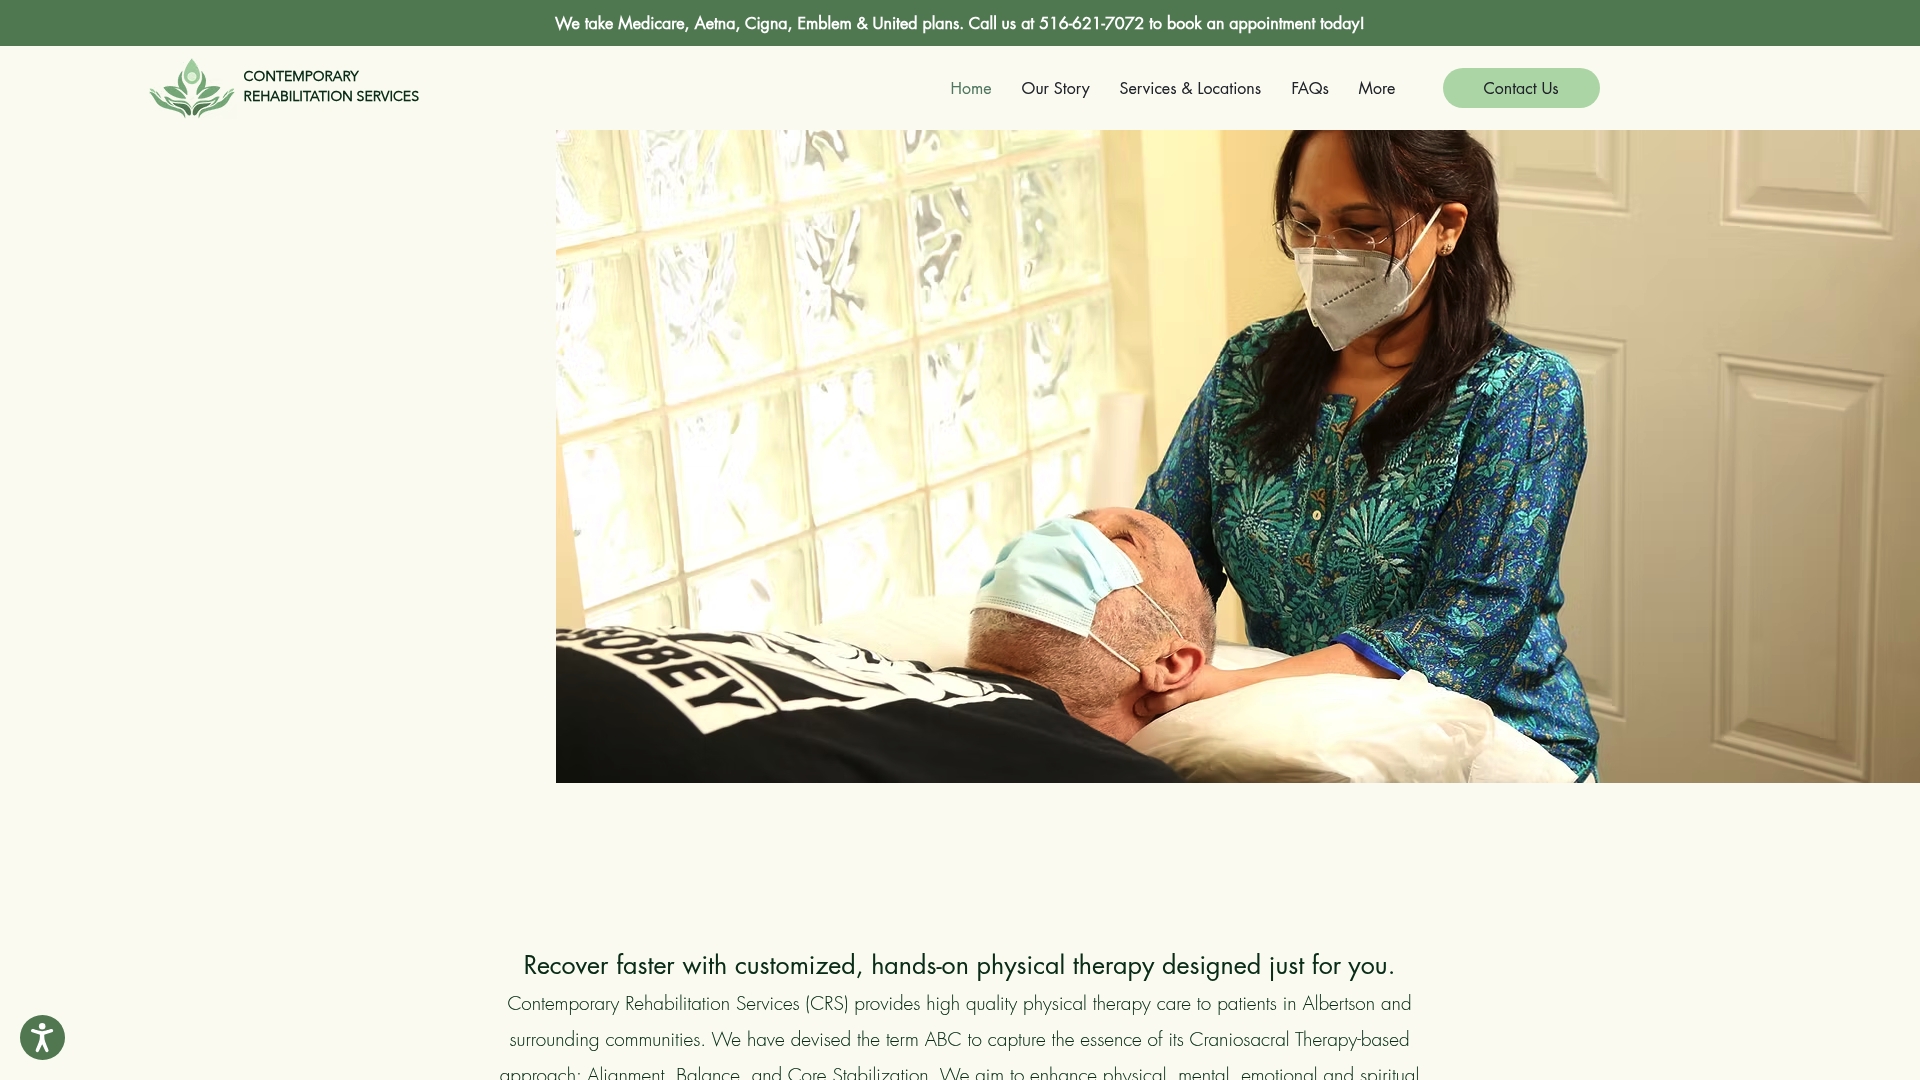
A structured rehab plan works best with a clinician checking your form, adjusting your load, and catching insertional or post-surgical nuances that are easy to miss on your own. Our physical therapy sessions are built around progressive tendon loading, whether you are managing tendinopathy or working through a post-repair timeline, with options for both in-person and telehealth visits to help you begin timely care.
Our services relevant to Achilles rehab include:
Physical Therapy and Telehealth PT Sessions for guided loading progressions and phase-by-phase programming.
Neuromuscular Re-education to restore movement patterns and balance after prolonged protection or immobilization.
Joint Mobilization and Myofascial Therapy for stiffness or compensation patterns that often develop around an injured Achilles.
We accept a variety of insurance plans and cash payment options. To start, book a visit through our services page or reach out through our main site with your surgical date (if applicable), current pain level and activity goals so we can tailor your first session.
Primary Sources and Guidelines Behind This Article
This article draws on peer-reviewed research and government health guidance, including a review of rehabilitation after Achilles tendon repair, a high-loading exercise trial for tendinopathy, a trial on tendon-compression strategies for insertional tendinopathy, and MedlinePlus aftercare guidance for Achilles rupture. Readers seeking clinician-level detail can consult these sources directly for full methodology.
This article is general information, not a substitute for advice from a qualified doctor. Consult a qualified healthcare professional about your own circumstances before acting on anything here.
Sources
FAQ
What Is the Fastest Way to Heal an Achilles Tendon?
There is no shortcut that beats consistent, progressive tendon-loading exercise combined with realistic activity modification early on. Most people see meaningful gains by 6 to 12 weeks of structured loading, though full recovery for higher-impact activity takes considerably longer.
Does Walking Help Achilles Tendonitis?
Walking within a comfortable pain range is generally fine and often encouraged, since complete rest is not part of current tendinopathy management. If walking consistently pushes pain past a tolerable level or causes it to worsen the next day, scale back distance or pace rather than stopping activity altogether.
How Long Does a Strained Achilles Take to Heal?
Mild Achilles tendon strains often improve within a couple of weeks with activity modification and early loading, while more significant tendinopathy commonly takes 6 to 12 weeks for substantial improvement. Full resolution and return to high-impact activity can take several months depending on severity and how consistently the rehab plan is followed.
How Soon Can I Walk Normally After Achilles Tendon Surgery?
Many modern surgical protocols allow protected weightbearing and controlled range-of-motion work within the first two weeks after repair, though this depends entirely on your surgeon’s specific instructions and brace settings. Normal, unassisted walking typically develops gradually over the following weeks to months as protected weightbearing progresses toward full weightbearing.
Recommended
Comments