
How to do physical therapy exercises safely at home
- tjdontplay
- Apr 29
- 10 min read

Recovering from an injury or surgery can feel overwhelming, especially when your care plan includes exercises you need to do on your own at home. If you’re in Queens or Nassau County and wondering whether you’re performing your rehab movements correctly, or whether your Medicare, Aetna, Cigna, Emblem, or United Healthcare plan will cover at-home physical therapy, you’re not alone. Those two concerns stop many people from making real progress. This guide walks you through everything you need to know: how to prepare your space, how to choose the right exercises for your recovery stage, and how to perform them safely so you can heal faster and with greater confidence.
Table of Contents
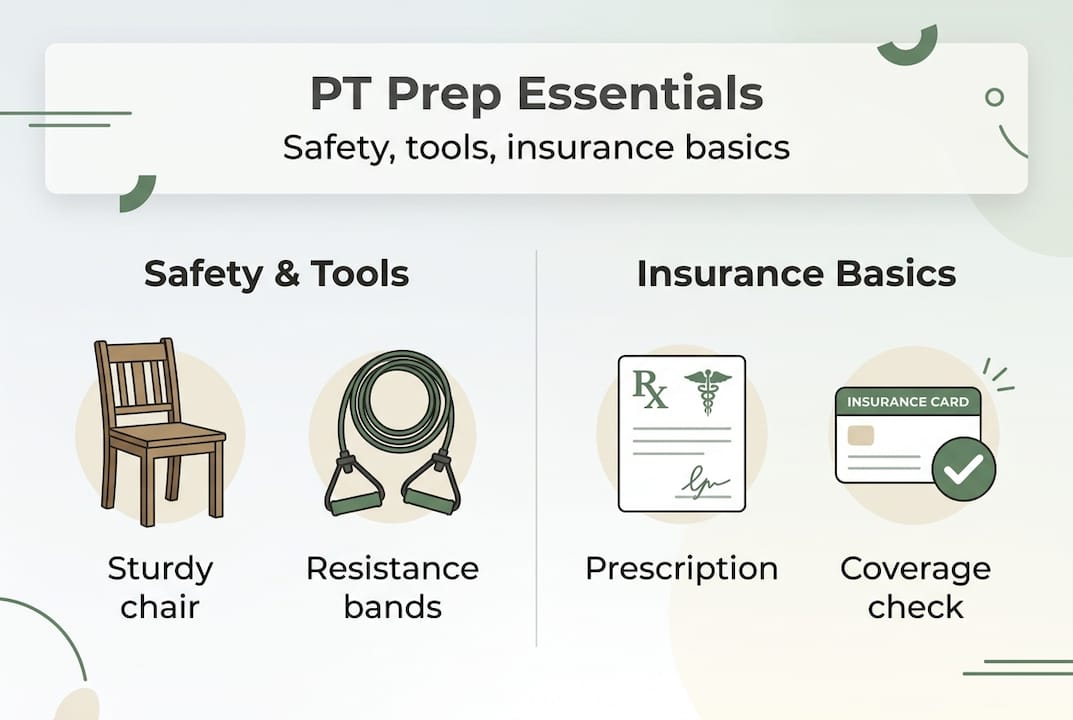
What you need before starting: Safety, tools, and insurance basics
How to select the right exercises: Matching movement to your recovery phase
Step-by-step: Performing key physical therapy exercises at home
How to track progress, avoid common mistakes, and know when to advance
Why the real secret to PT exercise success is expert supervision, not just instructions
Move forward with professional support: Physical therapy in Queens and Nassau
Key Takeaways
Point | Details |
Preparation is key | Gather the right equipment and confirm insurance details before starting any home physical therapy exercises. |
Choose exercises by stage | Select movements that match your rehab phase and symptoms for the safest and fastest recovery. |
Quality over quantity | Proper form and listening to your body are more important than doing more repetitions. |
Supervision matters | Regular check-ins with a licensed physical therapist boost your safety and success. |
What you need before starting: Safety, tools, and insurance basics
Before you even begin the exercises, it’s essential to get prepared. Jumping straight into movements without the right setup is one of the most common reasons people hurt themselves or slow down their recovery. A few minutes of preparation can save you weeks of setbacks.
Start with your physical space. You need a clear, flat area with enough room to stretch your arms out in all directions. Remove rugs or loose objects that could cause a fall. Good lighting matters more than most people realize, especially for balance exercises where you need to focus on a fixed point. Keep a sturdy chair nearby for support, and always have water within reach.
Your equipment list does not need to be expensive or complicated. Most standard home rehab programs require:
A sturdy, armless chair for seated exercises and balance support
One or two resistance bands in light to medium tension
A yoga mat or non-slip surface for floor exercises
An ice pack and a heating pad for pre and post-exercise care
A notebook or phone to log your sets, reps, and how you feel
Now for the part that worries many patients in Nassau County: insurance. The good news is that Medicare covers home health physical therapy when eligibility and certification requirements are met. This means you must meet the “homebound” definition, have a documented medical need, and receive services through a Medicare-certified agency. Your doctor must sign a care plan, and that plan must be reviewed regularly. If you have a private plan like Aetna, Cigna, Emblem, or United Healthcare, coverage for home therapy varies, but most plans require a physician’s referral and a defined treatment plan before reimbursement kicks in.
What you need | Why it matters |
Physician’s prescription or referral | Required by most insurers to authorize therapy |
Medicare-certified agency (for Medicare) | Ensures your services are billable |
Documented care plan | Outlines your goals, exercises, and visit frequency |
Resistance bands, chair, mat | Needed for the most common home rehab exercises |
Emergency contact nearby | Safety net in case of falls or sudden pain |
Explore your therapy options overview before committing to any program so you understand what services are available locally and what your insurance may already cover.
Pro Tip: Always follow the care plan your physical therapist provides. If you feel sharp, stabbing, or radiating pain during any exercise, stop immediately. Mild muscle fatigue or gentle stretching discomfort is expected, but true pain is your body signaling that something is wrong.
How to select the right exercises: Matching movement to your recovery phase
Once you’re set up and understand your insurance requirements, it’s time to choose the right exercises. This is where many well-meaning patients make a critical error: they search online for the “best” rehab exercise and do it regardless of where they are in their recovery. Not every exercise is right for every stage.

Physical therapy recovery generally follows three phases. Understanding which phase you’re in will help you and your provider select movements that heal rather than harm.
Phase 1: Acute (days 1 to 7 after injury or surgery). During this stage, your primary goals are to reduce swelling, manage pain, and restore gentle movement. Exercises are light and focus on range of motion, meaning how far your joint can move comfortably. Aggressive strengthening at this stage can increase inflammation and delay healing.
Phase 2: Subacute (week 2 through week 6, roughly). Swelling and pain have begun to settle. Now you can introduce gentle strengthening using your own body weight or light resistance bands. Balance work often begins here too, but only under guidance.
Phase 3: Advanced or functional rehab (week 6 onward). This is where you rebuild strength, coordination, and sport or activity-specific movement. Exercises become more challenging and require greater stability.
Here’s a simple step-by-step process for selecting the right exercise for your stage:
Check your current symptoms: Is there visible swelling? Does movement cause sharp pain or just mild discomfort?
Confirm your recovery phase with your physical therapist or physician before changing your routine.
Match your exercise type to your phase using the table below.
Start at the lower end of the recommended sets and reps.
Only progress when your baseline symptoms have clearly improved over several consecutive sessions.
For a good example, ankle sprain rehab from the American Academy of Family Physicians outlines specific staged exercises including range-of-motion work, resistance band strength training, and balance/posture holds, with exact dosage examples like sets, reps, and hold times. That level of specificity is what makes a program effective.
Recovery phase | Exercise type | Examples |
Acute (week 1) | Range of motion, gentle movement | Ankle circles, heel slides, toe pumps |
Subacute (weeks 2 to 6) | Light strengthening, balance intro | Band resisted movements, single-leg stands |
Advanced (week 6+) | Functional strength, stability | Step-ups, resistance walks, dynamic balance |
You can also read more about the rehabilitation process and learn how structured progression leads to more lasting results. If you’re still on the fence about whether working with a licensed therapist speeds things up, the evidence around expert PT benefits is quite clear: personalized oversight significantly reduces re-injury risk. For additional context on matching exercises to your situation, these therapy selection tips offer a helpful perspective.
Step-by-step: Performing key physical therapy exercises at home
With the right exercises chosen, let’s walk through how to do them safely and effectively. These three categories cover the foundation of most home rehab programs for conditions commonly treated in Queens and Nassau County.
Range-of-motion exercise: Ankle circles
Sit in a sturdy chair with your foot slightly elevated off the floor.
Slowly rotate your ankle clockwise for 10 full circles, keeping your leg still and only moving the foot.
Reverse direction and complete 10 counterclockwise circles.
Repeat 2 to 3 times per session, once or twice a day.
If you feel pulling or mild discomfort, that’s okay. If you feel sharp pain, stop.
Resistance band strength exercise: Resisted dorsiflexion
Dorsiflexion means pulling your foot upward toward your shin. This strengthens the muscles that stabilize your ankle during walking.
Sit on the floor with your leg extended straight in front of you.
Loop a resistance band around the ball of your foot and hold the ends in both hands.
Slowly pull your foot upward toward you, hold for 2 seconds, then lower it back down.
Complete 3 sets of 10 reps per session, resting 30 to 60 seconds between sets.
Repeat the same pattern for plantarflexion (pointing foot away) and inversion (turning foot inward) using the band at different angles.
You can find a variety of resistance band options that work well for these exercises without putting unnecessary stress on your joint.
Balance and posture hold: Semi-tandem stance
Stand behind a sturdy chair and lightly rest your hands on the back for support.
Place one foot slightly ahead of the other so the heel of the front foot is beside the toes of the back foot. This is called a semi-tandem stance.
Hold this position for 30 seconds, working toward 60 seconds as you gain stability.
Complete this 2 to 3 times per session, repeating on both sides.
As you improve, try reducing hand contact with the chair until you can balance without support.
Pro Tip: Go slow with every repetition. Moving faster does not make exercises more effective in the early stages of rehab. Controlled, deliberate movement builds neuromuscular control, which means your brain and muscles learn to work together again. That coordination is what prevents re-injury.
Important warning: If you experience sudden increased swelling, numbness, tingling, severe pain, or any loss of function during or after exercise, stop immediately and contact your physical therapist or physician. Do not push through those symptoms.
How to track progress, avoid common mistakes, and know when to advance
After practicing your exercises, it’s important to check your progress and watch for common pitfalls. Many patients in Nassau County feel motivated in the first week and then plateau or regress because they did not track how their body was responding.
Here are five signs that your home PT program is working:
Reduced swelling around the injured area within 24 hours after exercise
Better range of motion, meaning you can move your joint farther than you could last week without pain
Easier movement, where exercises that felt hard in week one feel more manageable by week two or three
Fewer flare-ups of sharp or intense pain during daily activities like walking or climbing stairs
Improved stability, where you can hold balance positions longer without wobbling or needing chair support
“If you notice increased pain, swelling, or loss of function, pause and consult your provider before continuing your exercise program.”
Tracking these changes in a simple notebook or phone app gives your physical therapist concrete information to work with during your check-ins. It also helps you stay motivated when progress feels slow.
Now let’s talk about the mistakes that undo good progress. The most common one is overdoing it. Patients who feel a little better often double their reps or add harder exercises without guidance. That leads to inflammation, re-injury, and frustration. Another frequent mistake is skipping the warm-up. Even two to three minutes of gentle movement or heat application before your session prepares the tissues and reduces the risk of strain. The third mistake is ignoring symptoms. Using pain and swelling as guides in the early phase and progressing to strength and balance only once range of motion improves is the approach recommended for good reason.
Knowing when to move to the next phase requires input from your provider, but some reliable signals include: completing your current exercises comfortably for several consecutive sessions, no increase in swelling after workouts, and a clear improvement in your functional movement, such as walking without a limp. If you’re recovering from a knee or lower extremity condition, reviewing specific knee rehab tips from our team can also help you understand what safe progression looks like.
Schedule regular check-ins with your physical therapist, even when things feel like they’re going well. These visits are where bad habits get corrected before they become problems, and where your program gets updated to keep challenging you appropriately.
Why the real secret to PT exercise success is expert supervision, not just instructions
Understanding how to track your progress is essential, but there’s one more truth few people discuss. Most people assume that once they have a printed or digital handout of exercises, they’re good to go. That belief, while understandable, can actually slow recovery or cause harm.
Here’s what we’ve seen consistently with patients in Queens and Nassau County: doing the exercises is only half the equation. The other half is how you do them. Compensation patterns, where you unconsciously use the wrong muscle to avoid pain, are invisible to the person doing the movement but immediately obvious to a trained eye. For example, a patient doing ankle strengthening may be gripping their hip flexor to stabilize instead of engaging the true target muscles. That pattern goes undetected at home and reinforces the wrong mechanics over time.
In-person or virtual check-ins with a licensed physical therapist catch these errors early. The difference in outcomes is not subtle. Supervised rehab consistently produces faster recovery, lower re-injury rates, and better long-term function. The expert guidance available through a licensed therapist adds a layer of accountability and safety that no written guide can fully replace.
The most lasting results come from combining your daily home exercises with regular expert feedback. Think of it this way: the exercises build the strength, but the supervision builds the skill.
Move forward with professional support: Physical therapy in Queens and Nassau
If you’re ready to take your recovery further or want extra support, here’s how you can do it locally.

At our boutique physical therapy clinic in Albertson, NY, we work with patients across Queens and Nassau County who want real, personalized guidance for their recovery. We accept Medicare, Aetna, Cigna, Emblem, and United Healthcare plans, so insurance doesn’t have to be a barrier. Whether you need help structuring a safe home program or want hands-on care, our licensed therapists will design a plan built specifically for you. Visit our Searingtown physical therapy location or explore our full list of therapy services available to find the right fit for your recovery goals. Reach out today and let’s build a plan that works.
Frequently asked questions
Does Medicare cover in-home physical therapy exercises?
Yes, Medicare covers home health physical therapy if you meet homebound and medical need criteria, and the agency is Medicare-certified. Your physician must also sign and regularly review your care plan.
How many times a week should I do home physical therapy exercises?
Most plans suggest daily or every-other-day sessions, but always follow your provider’s precise guidance. The AAFP staged exercise protocol for conditions like ankle sprains provides specific set and rep examples to help structure your sessions safely.
What equipment do I need for physical therapy at home?
You may need a sturdy chair, resistance bands, and an open non-slip surface, but your therapist will give you a custom list based on your specific condition and recovery stage.
Can I advance to harder exercises on my own?
No. Always consult your provider before progressing your routine, especially if you notice new pain or swelling. Progression should follow improved symptoms and direct provider input, not just how you feel on a single good day.
Recommended
Comments