
Thoracic Outlet Physical Therapy: What to Expect and Why It Works
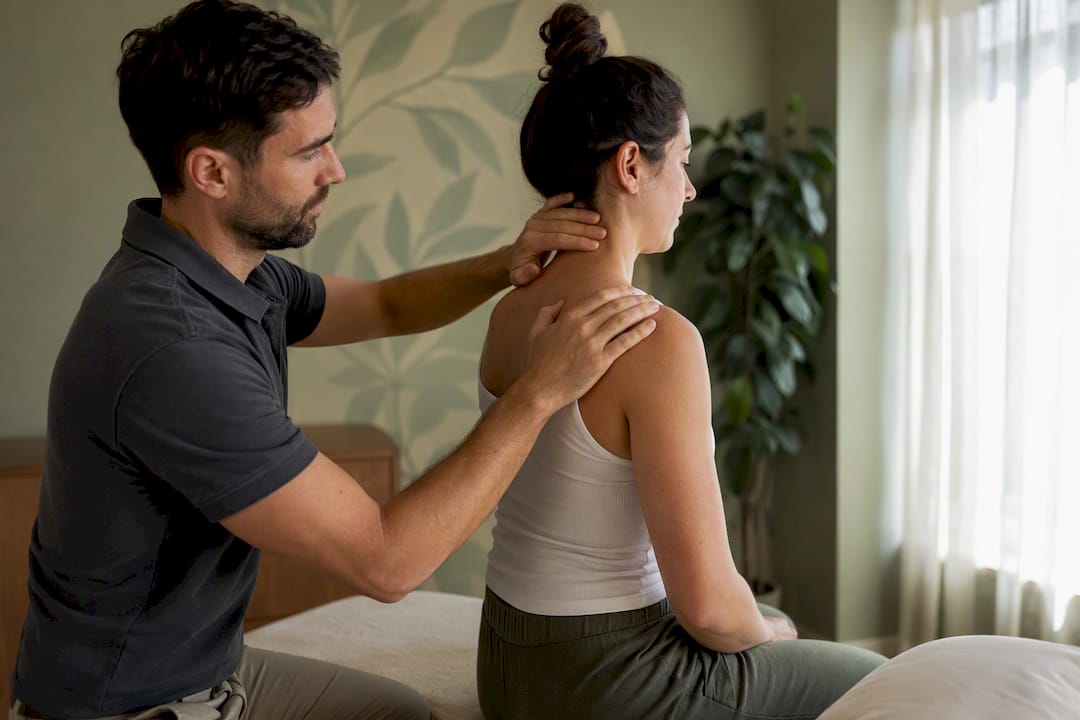
Physical therapy is the first-line, evidence-supported treatment for most cases of thoracic outlet syndrome. A structured, multimodal thoracic outlet physical therapy program combines posture correction, neural mobility work, manual therapy, and scapular strengthening to reduce the compressive and tensile forces on the nerves and blood vessels passing through your collarbone and first rib. Guidance from the INTOS workgroup recommends a full trial of conservative management, generally lasting several months before surgery even enters the conversation, unless you have muscle atrophy or worsening neurologic deficit.
The goal isn’t just pain relief. It’s restoring the space the nerves and vessels need to move freely again.
Reduce compressive and tensile load across the thoracic outlet through posture and movement retraining
Restore scapular control so your shoulder blade stops crowding the space between your collarbone and first rib
Improve function so you can return to work, sport, or daily tasks without symptom flares
Pro Tip: If you’re more than six weeks into consistent PT with zero change in your symptoms, that’s not a reason to quit. It’s a reason to ask your therapist whether your program needs a different emphasis, not more time.
Key Takeaways
Thoracic outlet physical therapy works by combining postural retraining, neural mobility, manual therapy, and graded scapular strengthening over a guided, multi-month course rather than any single exercise or quick fix.
Point | Details |
PT is first-line care | Conservative treatment is recommended before surgery for most neurogenic TOS cases, per INTOS guidance. |
Assessment shapes the plan | Provocation tests (Roos, Adson’s, ULTT) and posture screening determine which structures need treatment first. |
Progress in phases | Start below 30 degrees of abduction with high reps and low load, then advance as scapular control improves. |
Watch for red flags | Progressive weakness, spreading numbness, or arm discoloration need same-day medical attention. |
CRS Wellness offers guided care | Contemporaryrehabservices builds individualized TOS rehab programs with in-person and virtual sessions across accepted insurance plans. |
Table of Contents
How Physical Therapists Assess Thoracic Outlet Syndrome
Your first visit involves thorough assessment before exercises start. It’s the piece that determines whether TOS physical therapy will actually target the right structures, or whether you need a referral before therapy begins at all.
A thorough intake starts with history. Your therapist wants to know when symptoms show up (overhead reaching, prolonged sitting, sleeping position), whether they’re purely neurologic (tingling, numbness, weakness) or carry vascular red flags (color change, swelling, a cold hand), and how long this has been building. That distinction matters early because neurogenic, venous, and arterial TOS get different treatment priorities, even though they share an anatomical bottleneck.
From there, most clinicians run a small battery of provocation tests:
Roos test (EAST) — arms elevated and abducted, hands opening and closing for up to three minutes, watching for reproduction of symptoms
Adson’s test — head rotation and extension while checking the radial pulse, historically used for arterial-type compression
Upper limb tension test (ULTT) — a nerve-biased stretch sequence that helps distinguish neural involvement from a purely musculoskeletal cause
None of these tests is perfect on its own, so therapists interpret them alongside your history and exam. A scoping review of NTOS rehabilitation found that provocation testing and palpation are the most consistently used assessment tools in practice, but sensitivity and specificity vary enough that therapists interpret them alongside your history and exam, not in isolation.
The physical exam typically covers:
Postural assessment: forward head position, rounded shoulders, elevated or protracted scapula
Palpation of the scalenes and pectoralis minor for tenderness, tightness, or trigger points
Baseline range of motion and strength testing, often paired with a patient-reported outcome measure to track change over time
If your presentation includes pulselessness, marked swelling, skin discoloration, or a sudden onset tied to strenuous activity, a good therapist pauses the exercise plan and refers you for vascular imaging first. Neurogenic TOS accounts for the large majority of cases, but arterial and venous TOS are medical situations that need to be ruled out before anyone hands you a stretching sheet.
Core Components of a Multimodal Physical Therapy Program
Treating thoracic outlet syndrome with stretching alone is one of the most common mistakes in rehab, and clinical reviews such as Stretch Therapy - Nowak Orthopedic Associates are direct about it. The Current Clinical Concepts review points out that isolated stretching, without retraining the movement patterns that caused the compression in the first place, tends to produce short-lived relief. Real thoracic outlet rehab layers several interventions together.
Education and activity modification comes first, not last. Mayo Clinic identifies posture correction and activity modification as central pillars of conservative TOS treatment, and your therapist will likely walk through your workstation setup, sleeping position, and the repetitive overhead tasks that provoke your symptoms. Diaphragmatic breathing retraining often gets included here too, since shallow, upper-chest breathing recruits the scalenes as accessory breathing muscles and keeps them chronically short. If your job involves a desk, posture-focused physical therapy principles apply directly to how you sit, type, and hold your phone all day.
Manual therapy targets the soft tissue and joint restrictions that keep the outlet compressed. This might mean myofascial work on the scalenes and pectoralis minor, or first-rib and thoracic spine mobilizations when your therapist finds a mechanical block limiting your ribcage motion. Manual work doesn’t fix TOS by itself, but it buys you a window of reduced tone where the neuromuscular retraining can actually take hold.

Stretching focuses on two muscle groups doing most of the damage: the scalenes and pectoralis minor. Both get shortened by forward head posture and rounded shoulders, and both narrow the outlet when they’re tight. Your therapist will modify intensity and range based on how your symptoms respond, since aggressive stretching of an already irritated nerve bed can backfire.
Neural mobility work, often called nerve gliding, is used carefully and specifically. It’s not appropriate for every patient at every stage, and dosing matters more here than almost anywhere else in the program.
Strengthening targets the scapular stabilizers, primarily the middle and lower trapezius and serratus anterior. Clinical guidance favors starting with high-repetition, low-load endurance work before progressing to heavier resistance, because these muscles need to relearn a stabilizing role they may have abandoned months or years ago.
A Practical 3-Phase Program Timeline
You don’t jump from diagnosis to overhead lifting. Thoracic outlet rehabilitation follows a graded sequence, and understanding the phases helps you recognize whether your own progress is on track or stalling.
Phase 1 (roughly weeks 0 to 4): pain control and foundation building. Early treatment prioritizes posture education, gentle manual therapy, and neutral-range exercises that keep your arm below about 30 degrees of abduction. Reps are high, resistance is low or absent, and the objective is calming the tissue without provoking symptoms. According to rehabilitation guidance for TOS, progression should only occur once posture and palpation findings improve and scapular control starts to show up in low-demand positions.
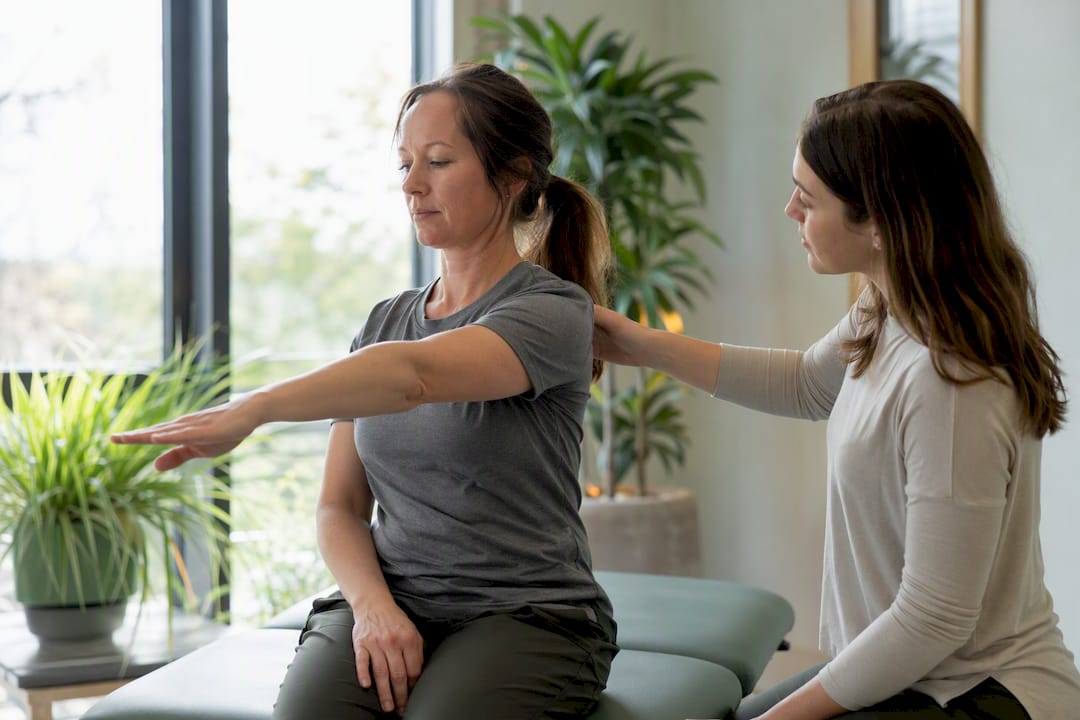
Phase 2 (roughly weeks 4 to 8): building control and range. This is where you move into mid-range work, between 30 and 60 degrees of abduction, and your therapist introduces light resistance bands or hand weights. Neural glides, if appropriate for your presentation, get added here in small, controlled doses. The emphasis shifts from “does this hurt” to “can you control the movement,” since scapular control at this range predicts how you’ll tolerate overhead work later.
Phase 3 (roughly weeks 8 and beyond): functional loading. Once you’ve demonstrated consistent tolerance and control, therapy moves toward tasks that mirror your actual job or sport, whether that’s reaching into an overhead cabinet, swinging a racket, or holding a steering wheel for a commute. Endurance training and return-to-activity progressions dominate this phase.
Progression through each phase depends on three things: your symptoms are more tolerable than they were, your scapular control has visibly improved, and you haven’t developed any new neurologic signs like numbness or weakness that wasn’t there before. A therapist watching for all three keeps you moving forward at a pace your tissue can actually handle, rather than a pace dictated by a printed handout.
Exercises for Thoracic Outlet Syndrome commonly include stretching, neural glides, and scapular strengthening.
This is the part most patients want first, and for good reason. Below are the categories a typical thoracic outlet rehab program uses, with sample dosing you can discuss with your treating therapist before trying anything unsupervised.
Stretching
Doorway pectoralis stretch: Forearm against a doorframe, elbow at or below shoulder height, gentle lean forward until you feel a stretch across the chest, not the shoulder joint. Hold for several seconds and repeat a few times.
Supine-supported pec stretch: For patients who find the doorway version provokes symptoms, lying on your back with a rolled towel between the shoulder blades allows gravity to do the stretching with less nerve tension.
Scalene stretch: Seated, gently tilt your head away from and slightly rotate toward the side being stretched, one hand anchoring the collarbone down. If active stretching irritates nerve symptoms, rib mobilization performed by your therapist can achieve a similar mobility gain with less provocation.
Neural glides
Nerve gliding is where dosing precision matters most. According to the scoping review on NTOS exercise rehabilitation, glides should be introduced gradually, in small ranges, with the response documented at each session. A typical starting scheme includes slow repetitions moving only through a range that produces mild, transient sensation without sharp pain or lingering numbness. If a glide provokes symptoms that last more than an hour, that’s your signal to back off the range and refocus on posture and scapular work instead.
Scapular strengthening
Isometric scapular retractions: Squeeze the shoulder blades together and hold briefly, performing multiple repetitions, done seated or standing with no resistance needed.
Serratus anterior punches: Lying on your back, punch a light weight or resistance band toward the ceiling, protracting the shoulder blade at the top. Start with multiple repetitions per set.
Prone T, Y, and row variations: Lying face down on a bench or bed edge, lift the arms into a T shape, then a Y shape, then row toward the ribs. Begin with bodyweight only, progressing to light resistance bands as control improves.
A sample weekly structure
Most patients attend supervised sessions with their physical therapist weekly, plus a home program on most days. Each home session might include a 5 minute warm-up (gentle shoulder circles, thoracic rotation), 10 minutes of stretching, 5 minutes of neural glide work if cleared, and 10 to 15 minutes of scapular strengthening.
Pro Tip: Use a simple “24-hour rule” to judge flares: if an exercise causes symptoms that settle within an hour and don’t return the next day, that’s a normal training response. If symptoms are worse than baseline 24 hours later, that exercise needs to be scaled back at your next session.
What to Avoid and Warning Signs That Need Prompt Attention
Rehab for thoracic outlet syndrome moves in one direction: gradually. The most common way patients derail their own progress is pushing into overhead loading or aggressive end-range stretching before their scapular control catches up, which reignites the exact compression the program is designed to relieve.
Other frequent pitfalls include skipping the posture and breathing retraining because it feels less “active” than the exercises, and not reporting new neurologic changes to your therapist because you assume it’s just part of the process. It usually isn’t.
Certain signs mean you should stop home exercises and seek prompt medical evaluation rather than waiting for your next scheduled visit:
Progressive weakness or visible muscle atrophy in the hand or forearm
Persistent numbness that isn’t improving or is spreading
Sudden skin discoloration, swelling, or a cold sensation in the arm or hand, which can signal a vascular component requiring urgent care
None of these are exercises to push through. They’re reasons to call your treating clinician the same day.
When Surgery Enters the Conversation
Surgery is not the default path for thoracic outlet syndrome, and it shouldn’t be presented as one. The INTOS consensus recommendations call for offering 3 to 6 months of conservative management before considering surgical decompression, with a key exception: if you already show muscle atrophy, significant weakness, or a sustained sensory deficit, that timeline shortens because waiting risks permanent nerve damage.
Vascular presentations follow their own logic. Arterial or venous TOS involving clots, aneurysm formation, or significant vessel compression is typically managed on a different, often faster, timeline than neurogenic TOS, since these carry direct risk to limb circulation.
When surgery does happen, most approaches involve removing the first rib, releasing tight scalene muscles, or both, to open the outlet permanently. What surprises a lot of patients is that physical therapy doesn’t end there. It becomes even more central.
Post-op rehab typically starts with gentle nerve gliding and scar tissue management once the surgical site allows
Range of motion work resumes gradually, followed by a return to the same graded strengthening sequence used in conservative care
Recovery milestones (full overhead reach, return to lifting, return to sport) are usually tracked over several months, with therapist and surgeon coordinating on pacing
A multidisciplinary team, meaning your surgeon and physical therapist actually communicating about your progress, tends to produce smoother outcomes than either provider operating in isolation.
How CRS Wellness Approaches Thoracic Outlet Rehabilitation
Contemporaryrehabservices treats thoracic outlet syndrome with the same multimodal approach the clinical literature supports: manual therapy, neuromuscular re-education, and individualized rehab programs built around your specific presentation, whether that’s neurogenic, venous, or arterial TOS. Sessions are available both in-person and virtually, which matters if flare-ups make travel uncomfortable on a given week.
Getting an accurate diagnosis and a program that respects your specific symptom pattern, rather than a generic printout, is what separates a treatment plan that works from one you abandon after three weeks.
The clinic accepts Medicare, Aetna, Cigna, Emblem, and United Healthcare, along with direct cash payment, which removes one of the more frustrating barriers patients face when seeking specialized TOS care. and shape how your assessment and program get built from your very first visit.
Initial visit includes a full postural and provocation-based assessment before any exercise prescription
Your rehab plan gets adjusted phase by phase, based on your symptom tolerance and scapular control, not a fixed calendar
Home exercise guidance is paired with in-clinic manual therapy and neuromuscular re-education for a more complete decompression strategy
Where the Standard Advice on TOS Falls Short
The clinical literature on thoracic outlet syndrome is more confident about what to do than how much. Every major review agrees that exercise, stretching, and neural mobility work, but the scoping review data is blunt about it: dosing is inconsistently reported across studies, which means a lot of generic exercise handouts are really just educated guesses dressed up as protocols.
What gets underestimated is how much posture and breathing retraining matter compared to the exercises themselves. Patients tend to treat stretching and strengthening as the “real” treatment and education as an afterthought, when the research suggests the opposite ordering might serve them better. A scalene that gets re-shortened every time you slouch at your desk will fight every stretch you do in the clinic.
If there’s one priority worth taking from this, it’s symptom-guided progression over calendar-guided progression. Two patients diagnosed the same week can need very different timelines, and a program that advances you based on scapular control and tolerance, not just weeks elapsed, respects that reality.
— CRS Wellness
Getting Started With TOS Treatment Near You
If you’ve read this far, you already know thoracic outlet rehab isn’t a one-size-fits-all stretching sheet. It’s a phased, individualized process that depends on accurate assessment and steady adjustment, which is exactly where a printed home program runs out of usefulness and hands-on care takes over.
Contemporaryrehabservices builds TOS rehabilitation plans around your specific provocation pattern, whether your symptoms show up reaching overhead, sitting at a desk, or sleeping on one side, using manual therapy, neuromuscular re-education, and progressive strengthening rather than a generic exercise sheet. In-person visits are available at the Albertson location, with additional nearby options in Roslyn Heights and Great Neck Plaza for patients closer to those areas, and virtual sessions are available if travel during a flare isn’t practical. The clinic accepts Medicare, Aetna, Cigna, Emblem, and United Healthcare, along with direct payment. If posture and ergonomics are part of what’s driving your symptoms, this guide to desk-related postural imbalances covers practical workstation fixes worth reviewing alongside treatment. Schedule an initial assessment to get a provocation-based exam and a phased plan built around your specific case, rather than a generic protocol.
This article is general information, not a substitute for advice from a qualified doctor. Consult a qualified healthcare professional about your own circumstances before acting on anything here.
Recommended
Comments